
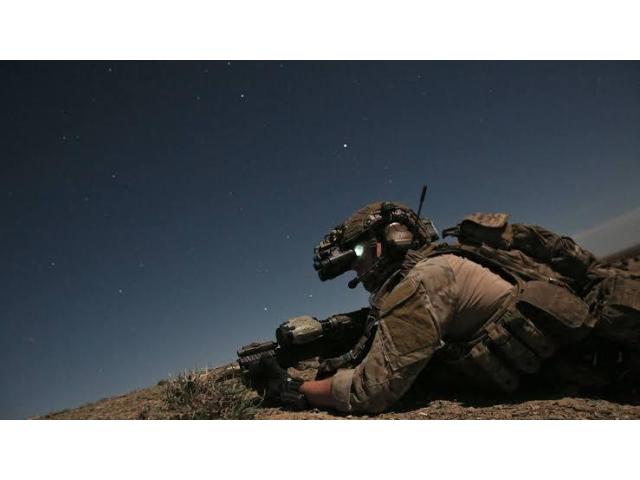
In Delta Force, a pricey loadout can change the whole mood of a raid. You move differently, take fewer silly risks, and start thinking about the exit before the first shot. That's where Delta Force Items become useful, especially when your plan involves rare loot, tough opponents, or a long route home.
Spend Around the Raid Objective
Don't judge equipment by its price alone. A costly rifle won't help much if the mission only asks you to collect low-tier materials. In that situation, a modest weapon, basic armour, and enough medical supplies usually do the job. You keep your best kit available for a run that can actually pay it back.
High-value objectives are different. If the area contains strong AI units, busy extraction points, or valuable containers, premium protection starts making sense. You're buying more than damage output. You're buying time. One extra second behind cover can be the difference between securing the item and losing the entire run.
Choose the Weapon Before the Extras
It's easy to overspend on a rifle, then discover you've got no room for ammunition or healing. That setup looks impressive in the lobby and feels awful halfway through the raid. Pick the main weapon first, then build around its range, recoil, and magazine needs.
For a medium-range rifle, carry optics that help with controlled bursts rather than close-quarters attachments you'll rarely use. A shotgun needs a different support plan. So does a marksman rifle. Expensive gear works best when every slot has a job, not when the loadout is packed with impressive but unrelated pieces.
Three Checks Before You Equip Premium Gear
1. Check the mission reward against the replacement cost.
2. Confirm your armour matches the expected threat level.
3. Leave enough space for healing and ammunition.
These checks take seconds, but they stop emotional spending. Plenty of players lose a costly kit because they rushed into a raid while tired, distracted, or short on basic supplies. If the numbers don't work, run a cheaper setup and learn the route first.
Armour, Bags, and Carrying Power
Armour is often the item that quietly changes survival odds. Better protection may let you survive a burst that would otherwise end the run. Still, heavier gear can affect movement and stamina, so don't choose it blindly. Think about the map, the distance between objectives, and how often you expect to sprint.
A larger bag has a different kind of value. It doesn't win a firefight, yet it can turn one successful room into a profitable trip. More space means fewer painful decisions when rare materials appear. Just remember that extra capacity can tempt you to stay too long. The exit still matters more than one additional container.
Item type Main benefit Best use
High-grade armour More room for mistakes Dangerous objectives
Large backpack Higher loot capacity Resource-focused runs
Premium rifle Reliable damage at range Strong enemy zones
Know When to Stop Fighting
Finding an expensive item should change your behaviour straight away. You don't need to clear every hallway after that. Check your ammunition, top up your health, and choose the safest extraction route you can reach. Greed usually starts with one extra fight that wasn't necessary.
Listen for nearby shots before crossing open ground. Use cover, slow your pace, and avoid announcing your position without a reason. If your bag is full of valuable loot, surviving becomes the priority. A quiet retreat feels less exciting than another engagement, but it's far more useful when the reward is already secured.
Build Two Loadouts, Not One
1. Keep a practical kit for routine material runs.
2. Reserve premium gear for high-return objectives.
3. Replace only the items your preferred build truly needs.
Make Every Expensive Item Earn Its Place
Track what actually helps you extract. Maybe it's a larger bag, not a stronger optic. Maybe dependable armour matters more than a costly weapon because most of your losses happen during retreats. Review a few raids and look for patterns instead of buying whatever appears most valuable.
Sell spare equipment, keep materials tied to your favourite builds, and avoid replacing everything after a minor setback. When you're ready for a serious run, compare ways to buy Delta Force Items that fit your plan, then keep enough resources aside for the raid after it.
At u4gm, find practical Delta Force advice for smarter raids and better loadouts. Learn when premium gear is worth using, how to balance weapons with ammo and healing, and why a safe extraction can beat one more fight. Need Delta Force Items? Visit https://www.u4gm.com/delta-force-items and prepare for your next run with gear that suits your style.
Spend Around the Raid Objective
Don't judge equipment by its price alone. A costly rifle won't help much if the mission only asks you to collect low-tier materials. In that situation, a modest weapon, basic armour, and enough medical supplies usually do the job. You keep your best kit available for a run that can actually pay it back.
High-value objectives are different. If the area contains strong AI units, busy extraction points, or valuable containers, premium protection starts making sense. You're buying more than damage output. You're buying time. One extra second behind cover can be the difference between securing the item and losing the entire run.
Choose the Weapon Before the Extras
It's easy to overspend on a rifle, then discover you've got no room for ammunition or healing. That setup looks impressive in the lobby and feels awful halfway through the raid. Pick the main weapon first, then build around its range, recoil, and magazine needs.
For a medium-range rifle, carry optics that help with controlled bursts rather than close-quarters attachments you'll rarely use. A shotgun needs a different support plan. So does a marksman rifle. Expensive gear works best when every slot has a job, not when the loadout is packed with impressive but unrelated pieces.
Three Checks Before You Equip Premium Gear
1. Check the mission reward against the replacement cost.
2. Confirm your armour matches the expected threat level.
3. Leave enough space for healing and ammunition.
These checks take seconds, but they stop emotional spending. Plenty of players lose a costly kit because they rushed into a raid while tired, distracted, or short on basic supplies. If the numbers don't work, run a cheaper setup and learn the route first.
Armour, Bags, and Carrying Power
Armour is often the item that quietly changes survival odds. Better protection may let you survive a burst that would otherwise end the run. Still, heavier gear can affect movement and stamina, so don't choose it blindly. Think about the map, the distance between objectives, and how often you expect to sprint.
A larger bag has a different kind of value. It doesn't win a firefight, yet it can turn one successful room into a profitable trip. More space means fewer painful decisions when rare materials appear. Just remember that extra capacity can tempt you to stay too long. The exit still matters more than one additional container.
Item type Main benefit Best use
High-grade armour More room for mistakes Dangerous objectives
Large backpack Higher loot capacity Resource-focused runs
Premium rifle Reliable damage at range Strong enemy zones
Know When to Stop Fighting
Finding an expensive item should change your behaviour straight away. You don't need to clear every hallway after that. Check your ammunition, top up your health, and choose the safest extraction route you can reach. Greed usually starts with one extra fight that wasn't necessary.
Listen for nearby shots before crossing open ground. Use cover, slow your pace, and avoid announcing your position without a reason. If your bag is full of valuable loot, surviving becomes the priority. A quiet retreat feels less exciting than another engagement, but it's far more useful when the reward is already secured.
Build Two Loadouts, Not One
1. Keep a practical kit for routine material runs.
2. Reserve premium gear for high-return objectives.
3. Replace only the items your preferred build truly needs.
Make Every Expensive Item Earn Its Place
Track what actually helps you extract. Maybe it's a larger bag, not a stronger optic. Maybe dependable armour matters more than a costly weapon because most of your losses happen during retreats. Review a few raids and look for patterns instead of buying whatever appears most valuable.
Sell spare equipment, keep materials tied to your favourite builds, and avoid replacing everything after a minor setback. When you're ready for a serious run, compare ways to buy Delta Force Items that fit your plan, then keep enough resources aside for the raid after it.
At u4gm, find practical Delta Force advice for smarter raids and better loadouts. Learn when premium gear is worth using, how to balance weapons with ammo and healing, and why a safe extraction can beat one more fight. Need Delta Force Items? Visit https://www.u4gm.com/delta-force-items and prepare for your next run with gear that suits your style.
Details
| Type | For rent |
| Num. Rooms | 0 |
| Num. Bathrooms | 0 |
| Status | New construction |
| Square Meters | 0 |
| Square Meters (total) | 0 |
| Num. Floors | 0 |
| Floor Number | 0 |





0 Comment